21 Blacksmithing Projects
A Work in Progress
These projects require few jigs and little or no forge welding and don't require the use of a oxy-acetylene torch.
We are working on expanding this page with detailed outlines and images. It will be done eventually, we promise!
Numbers following the name of the project indicate instructions can be found in:
101 Metal Projects for the Novice Blacksmith: A "How-to" Shop Manual for Beginners
Originally created and published by: Al Cannella, A&L Enterprises, Cookeville TN (1995-2005)
Currently copyrighted and published by: Ken Scharabok
Poor Boy Blacksmith Tools (An ebay store)
1645 West Blue Creek Road
Waverly TN 37185 (2005-Present)
Index, Click on Title for Directions
Mild Steel
- Forge Tools
- Poker
- Rake
- Fireplace Poker
- Wall Hooks
- Drive-In
- Screw-In
- S-Hooks
- Flesh Fork
- Dinner Bell (triangle) and Clapper (26,27)
- Leaves
- Nails (40) (requires nail header)
- Courting Candle (22)
- Drapery Holdback (29)
- Friendship Knot (35)
- Garter Snake from Rebar (38)
- Napkin Ring (54)
- Paper Towel Rack (60)
- Strap Hinge (80 or 81)
- Trammel Hook (90)
- Letter Opener
- Cheese Slicer (14)
- More Forge Tools
- Shovel (using shovel blank)
- Watering can
- Coil Candle Stand with tulip end
- Chisel
- Cut-Off Hardie
Tool Steel
Detailed Instructions
These steps are an outline (recipe) only. Obtain the needed instruction prior to attempting these projects.
Mild Steel
Forge Tools
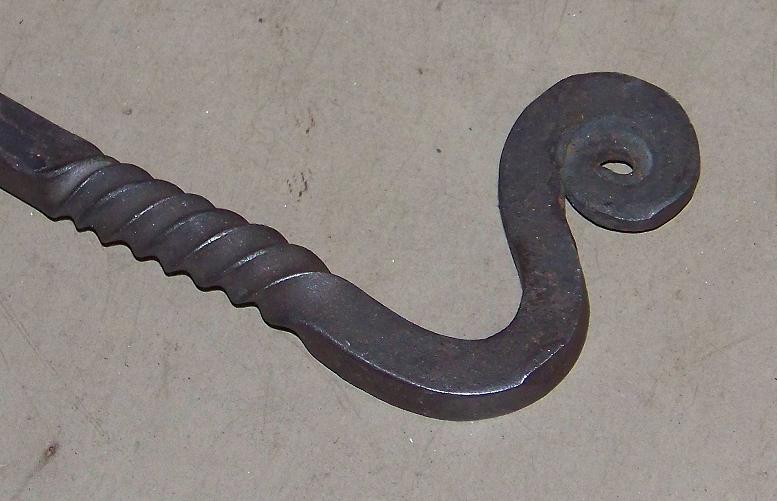
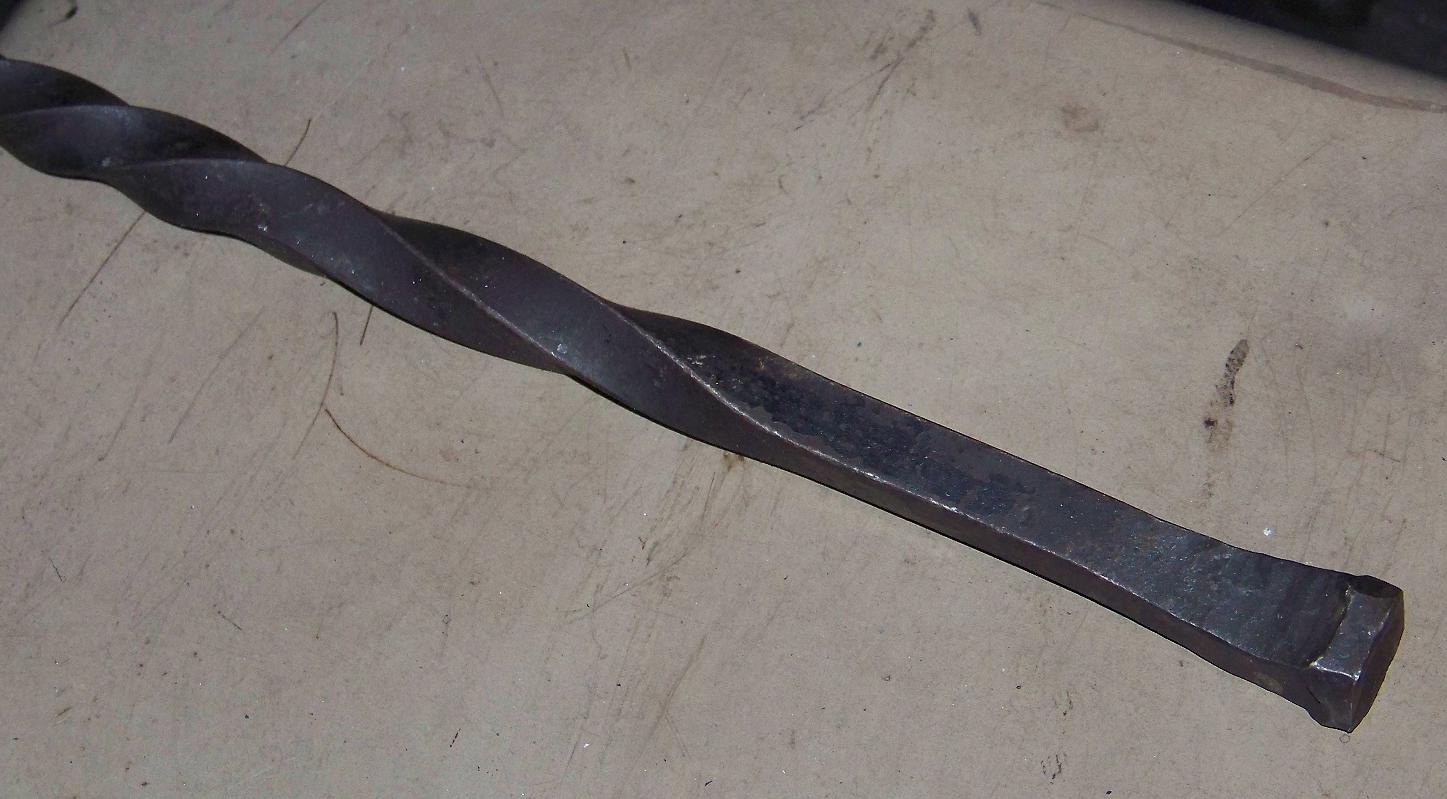
- Poker
- Cut 24 to 36 inches of ½" square. The initial length depends on what type of handle you plan to make.
- Point up one end
- Twists in the middle
- Add a handle, some examples:
- Wax all but the pointed end
- Rake
- Cut 24 to 36 inches of ½" square
- Put a very short point (about 45°) on one end
- Use a half-faced blow to start the flat part 2" from the same end
- Draw out these last 2" from one side only. Occasionally strike the other side to maintain the ½" width
- Use the edge of the anvil to bend over the tip ending up with back-faced blows
- Hang the bend end over the edge of the anvil and strike the tip to give a slight recurve
- Twists in the middle
- Add a different handle than you used for your poker so you can tell which is which without having to look at the far ends.
- Wax all but the rake end.
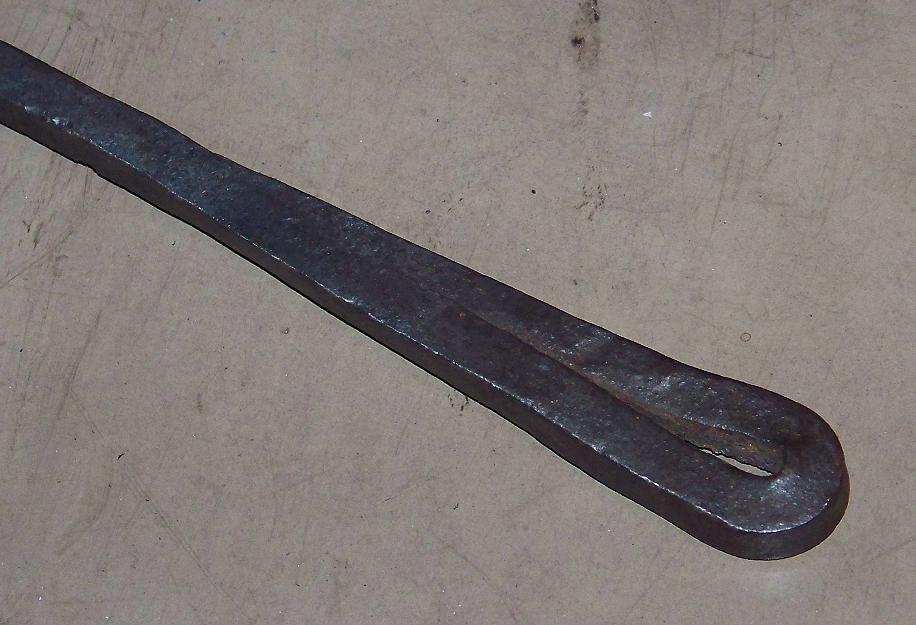
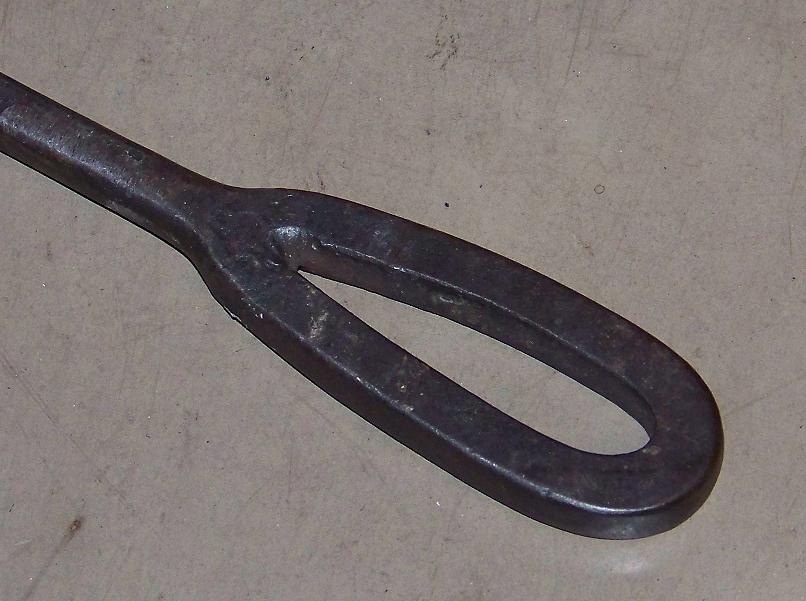
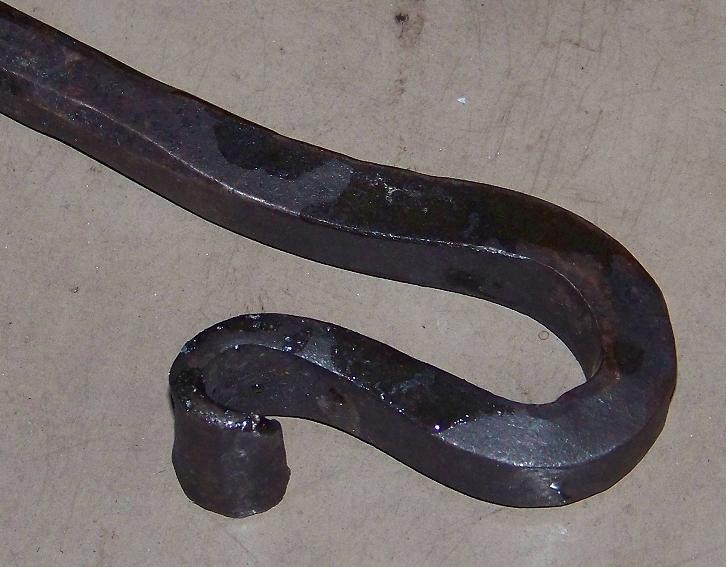
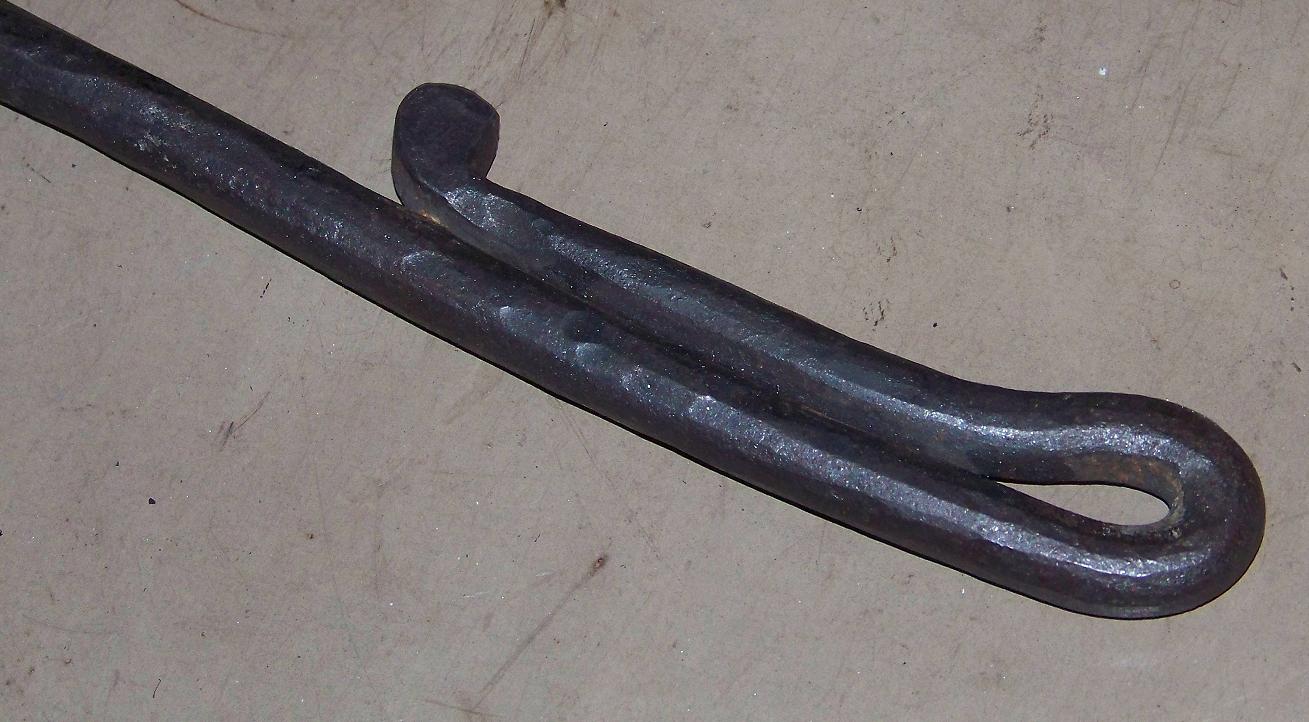
Fireplace Poker
- Cut 24 to 36 inches of ½" square. The initial length depends on what type of handle you plan to make.
- Point up one end for about 3 inches.
- Using the horn, curve the taper into about a quarter circle.
- Using the edge of the anvil, bend the piece back on itself 1 inch above taper with the tip curving away from the main shaft.
- Square up and point up the tip at the new bend.
- Recurve the original tip back toward the handle.
- Twists in the middle.
- Add a handle.
- Wax all but the poker end.
Wall Hooks — Make 10
- Start with ¼" or 3/8" round
- Square up the end.
- Point and taper.
- Round it back up.
- Put a mouse tail scroll at the end of the taper.
- Bend the hook way from the scroll.
- Hot cut to length depending on the type of end desired:
- Drive-In
- Point other end from one side only.
- Flatten and draw out from the other side.
- Bend over edge of anvil to make drive-in point. Use back-face and full-face blows to sharpen angle.
- Drill hole in wall prior to driving in the hook or you will split your wood.
- Screw-In
- Flatten end at right angles to hook.
- Hot-punch two holes in flat spot.
- S-Hooks — make the other side just like the first.
- Wax your hooks
Flesh Fork
- Start with bar stock.
- Half-faced blow tall way. Draw out a square on one side. Taper it and mouse-tail then bend in circle.
- Handle width of anvil. Diamond cross-section like knife but dull.
- Edge blow or set hammer a shoulder. Square up next 4 to 8 inches of handle. Leave another shoulder.
- Where is bar stock again, hot cut three inches.
- Punch head of slot. Chisel last part in two.
- Bend tines out 90° and draw out to point and round. May have to hot rasp of sharp ridges in center.
- Bend tines back parallel with space between.
- Bend sideways like fork.
- Heat and brush. Finish by coating with olive oil and baking in oven at home.
Dinner Bell (triangle) and Clapper (26,27)
Leaves
Nails (40) (requires nail header)
Courting Candle (22)
Drapery Holdback (29)
Friendship Knot (35)
Garter Snake from Rebar (38)
Napkin Ring (54)
Paper Towel Rack (60)
Strap Hinge (80 or 81)
Trammel Hook (90)
Letter Opener
Cheese Slicer (14)
More Forge Tools
- Shovel (using shovel blank)
- Watering can
Coil Candle Stand with tulip end
Tool Steel
Chisel
Cut-Off Hardie
Mountain Stream Forge sells many of these projects: visit for ideas and pricing